Chatway Chatway
  • Home
  • Product
  • Pricing
  • Built For
  • Resources
    • Help Center
    • Blog
    • Integrations
    • Social Media Buttons
    • Glossary
  • What’s New
  • Sign In →
  • Home
  • Product
  • Pricing
  • Built For
  • Resources
    • Help Center
    • Blog
    • Integrations
    • Social Media Buttons
    • Glossary
  • What’s New
  • Sign In →
Sign In Sign Up for Free Free Sign Up

How to install Chatway on WordPress

  • Help Center >
  • How to install Chatway >
  • How to install Chatway on WordPress

In this guide we’ll show you how to install the Chatway live chat plug-in on a WordPress website.

Chatway is a live chat platform that allows you to provide prompt and personalized customer support, which can improve customer satisfaction and loyalty. With Chatway, your multiple agents can communicate easily on chat, email, Facebook Messenger & more, all from a single dashboard. It also allows your team to collaborate on customer conversations, share notes, and assign tasks, which can improve team efficiency and effectiveness.

You can also check our entire Chatway knowledge base to learn more about how to make the most out of it.

Step 1: So let’s dive in. First you will need to install the Chatway plug-in from the WordPress repository completely for free.

Step 2: Next, to install the Chatway plugin, hover over the Plug-ins menu item. Then, click on Add New. Search for Chatway in the plug-in search field and click on Install Now:

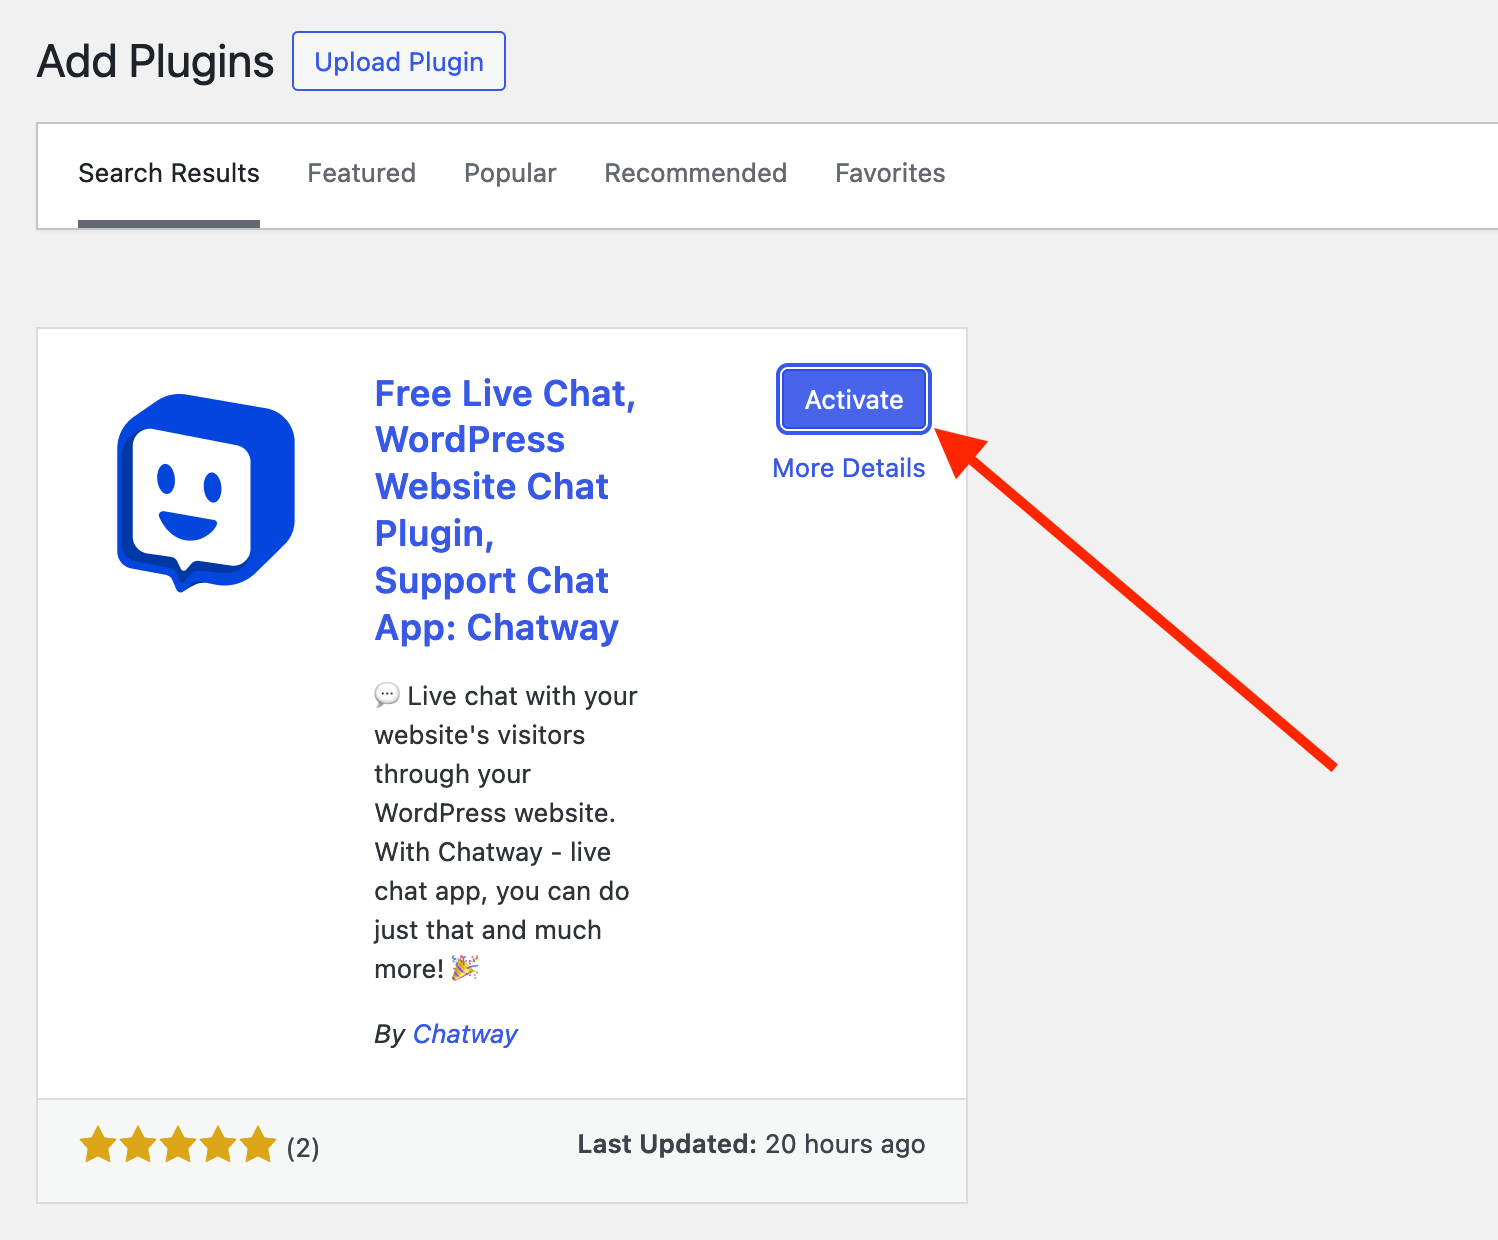
Step 3: Afterwards, click on Activate to complete the installation of the plug-in.

Step 4: Now that the Chatway plug-in is installed, we can connect your website to your Chatway account. You can sign up for free or log in if you already have an account.

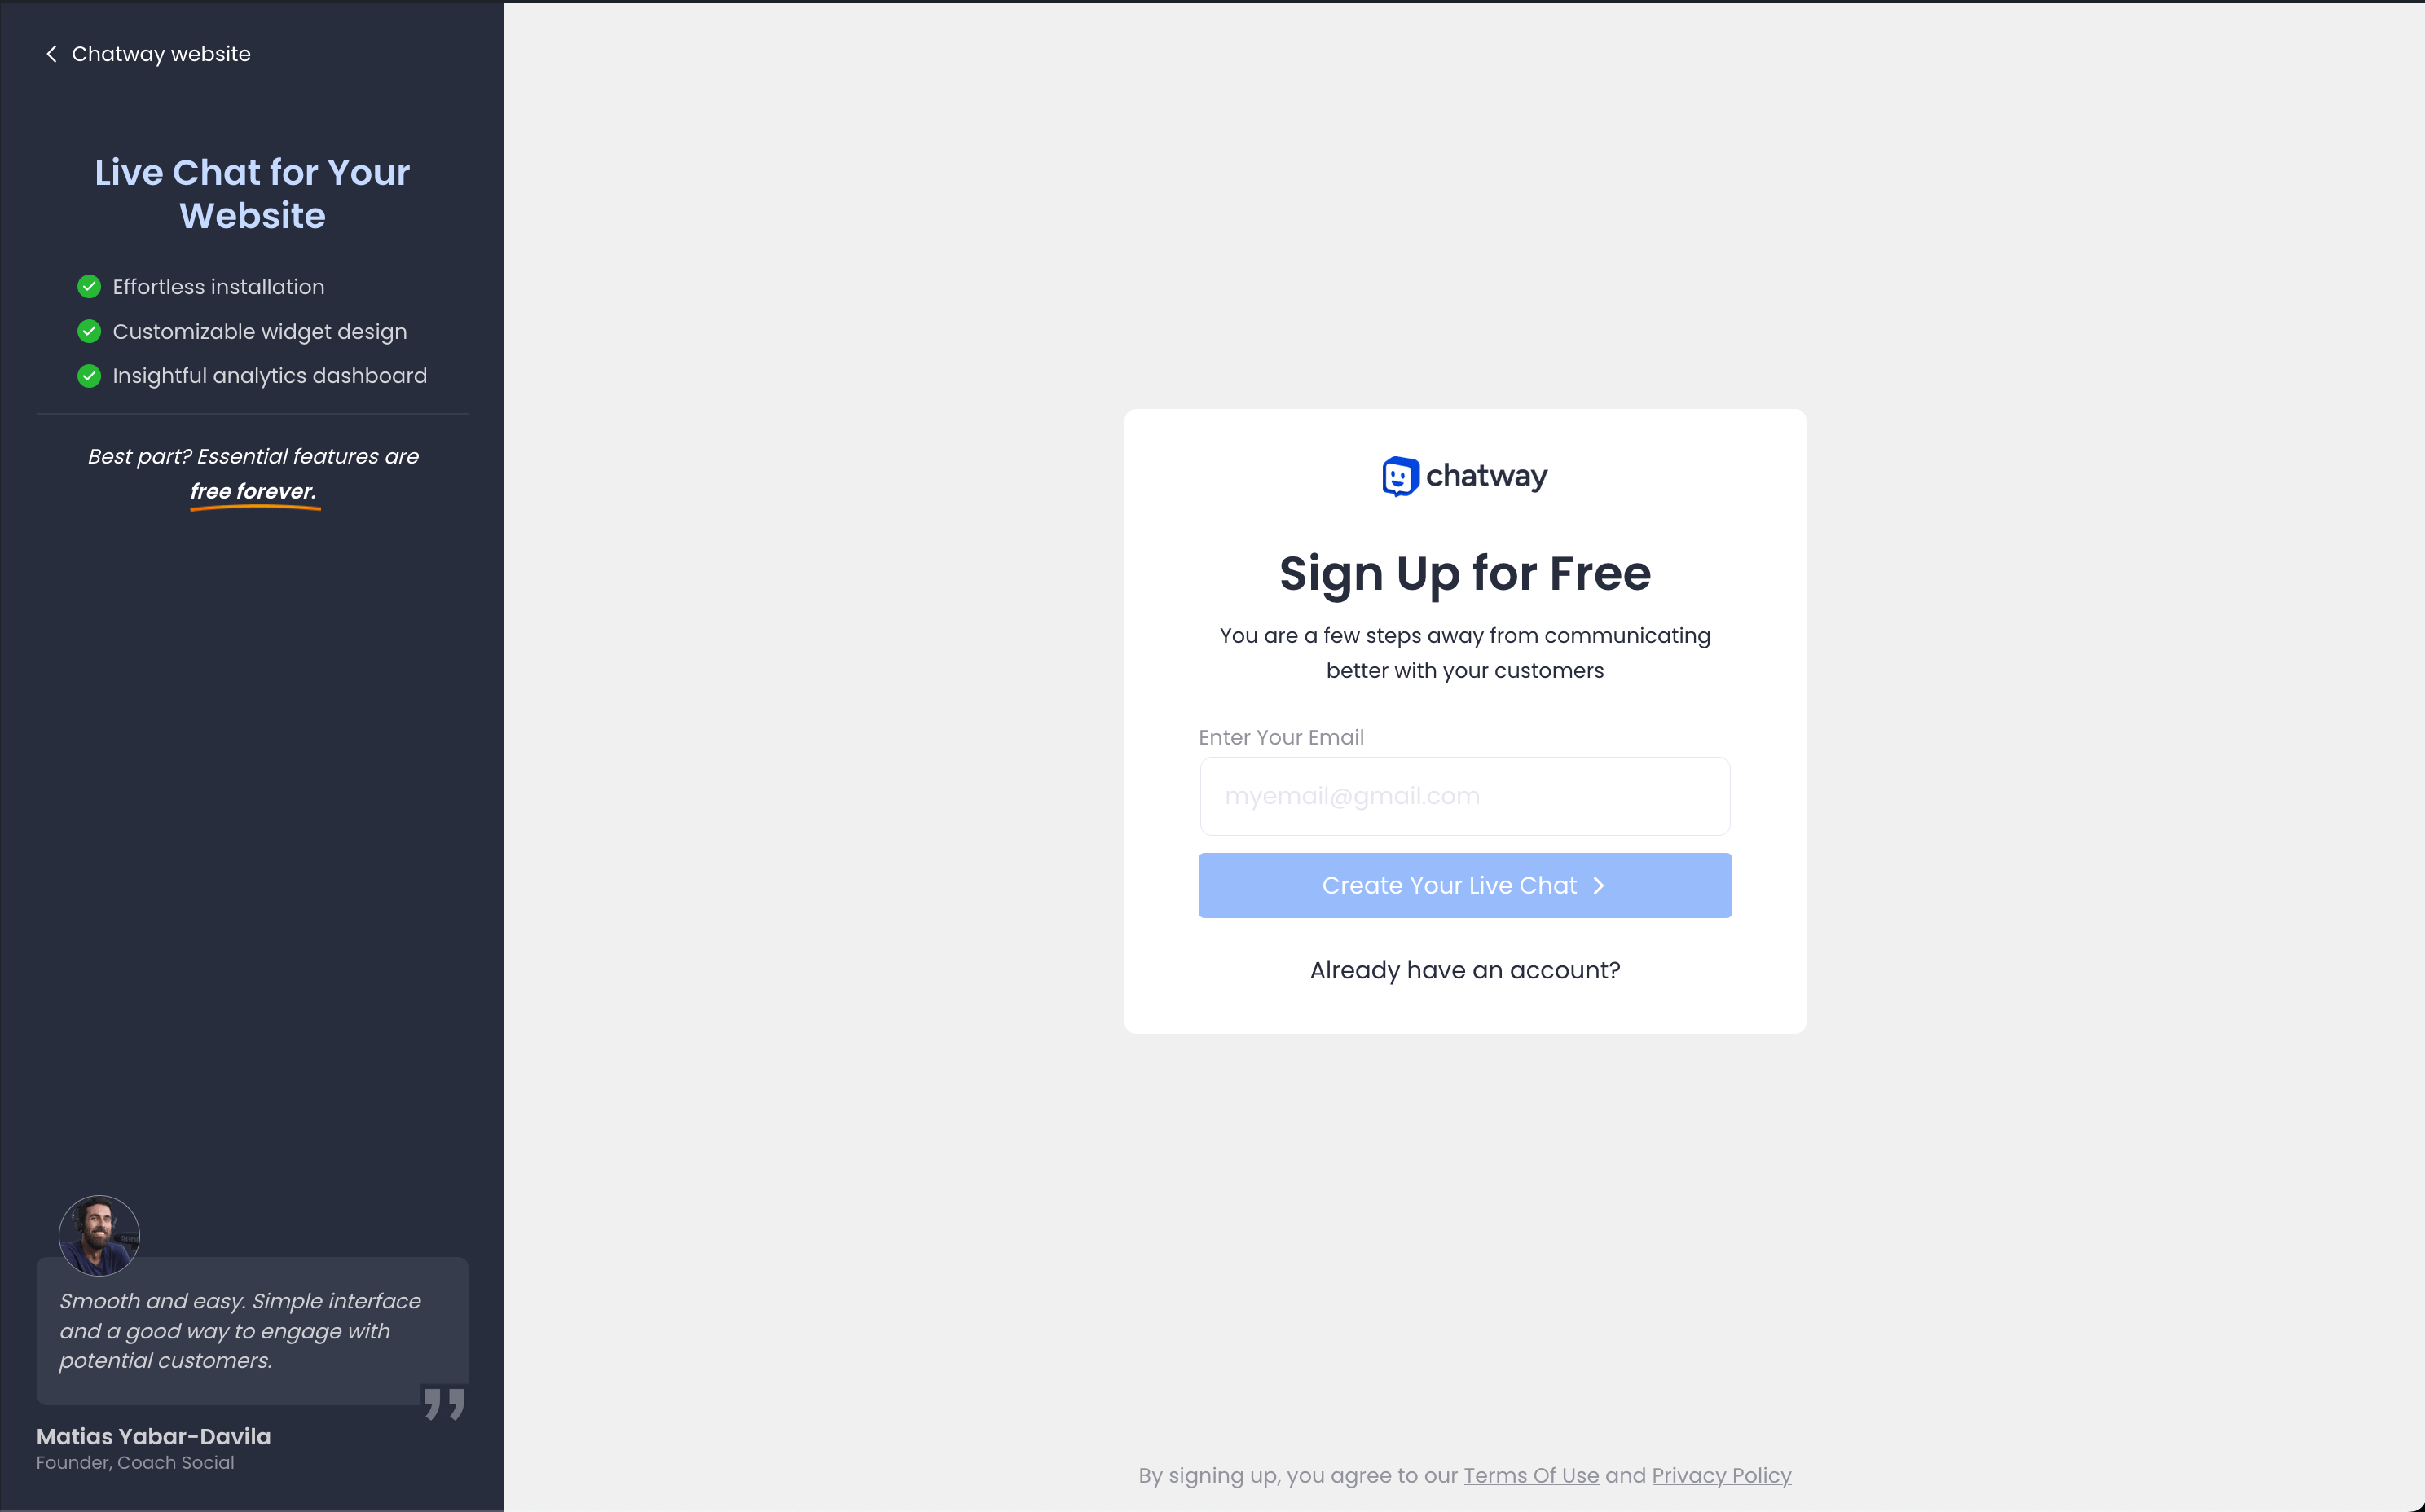
Step 5: If you don’t have a Chatway account yet, you will be asked to create an account with your email address. Just fill in the sign-up details and click Next.

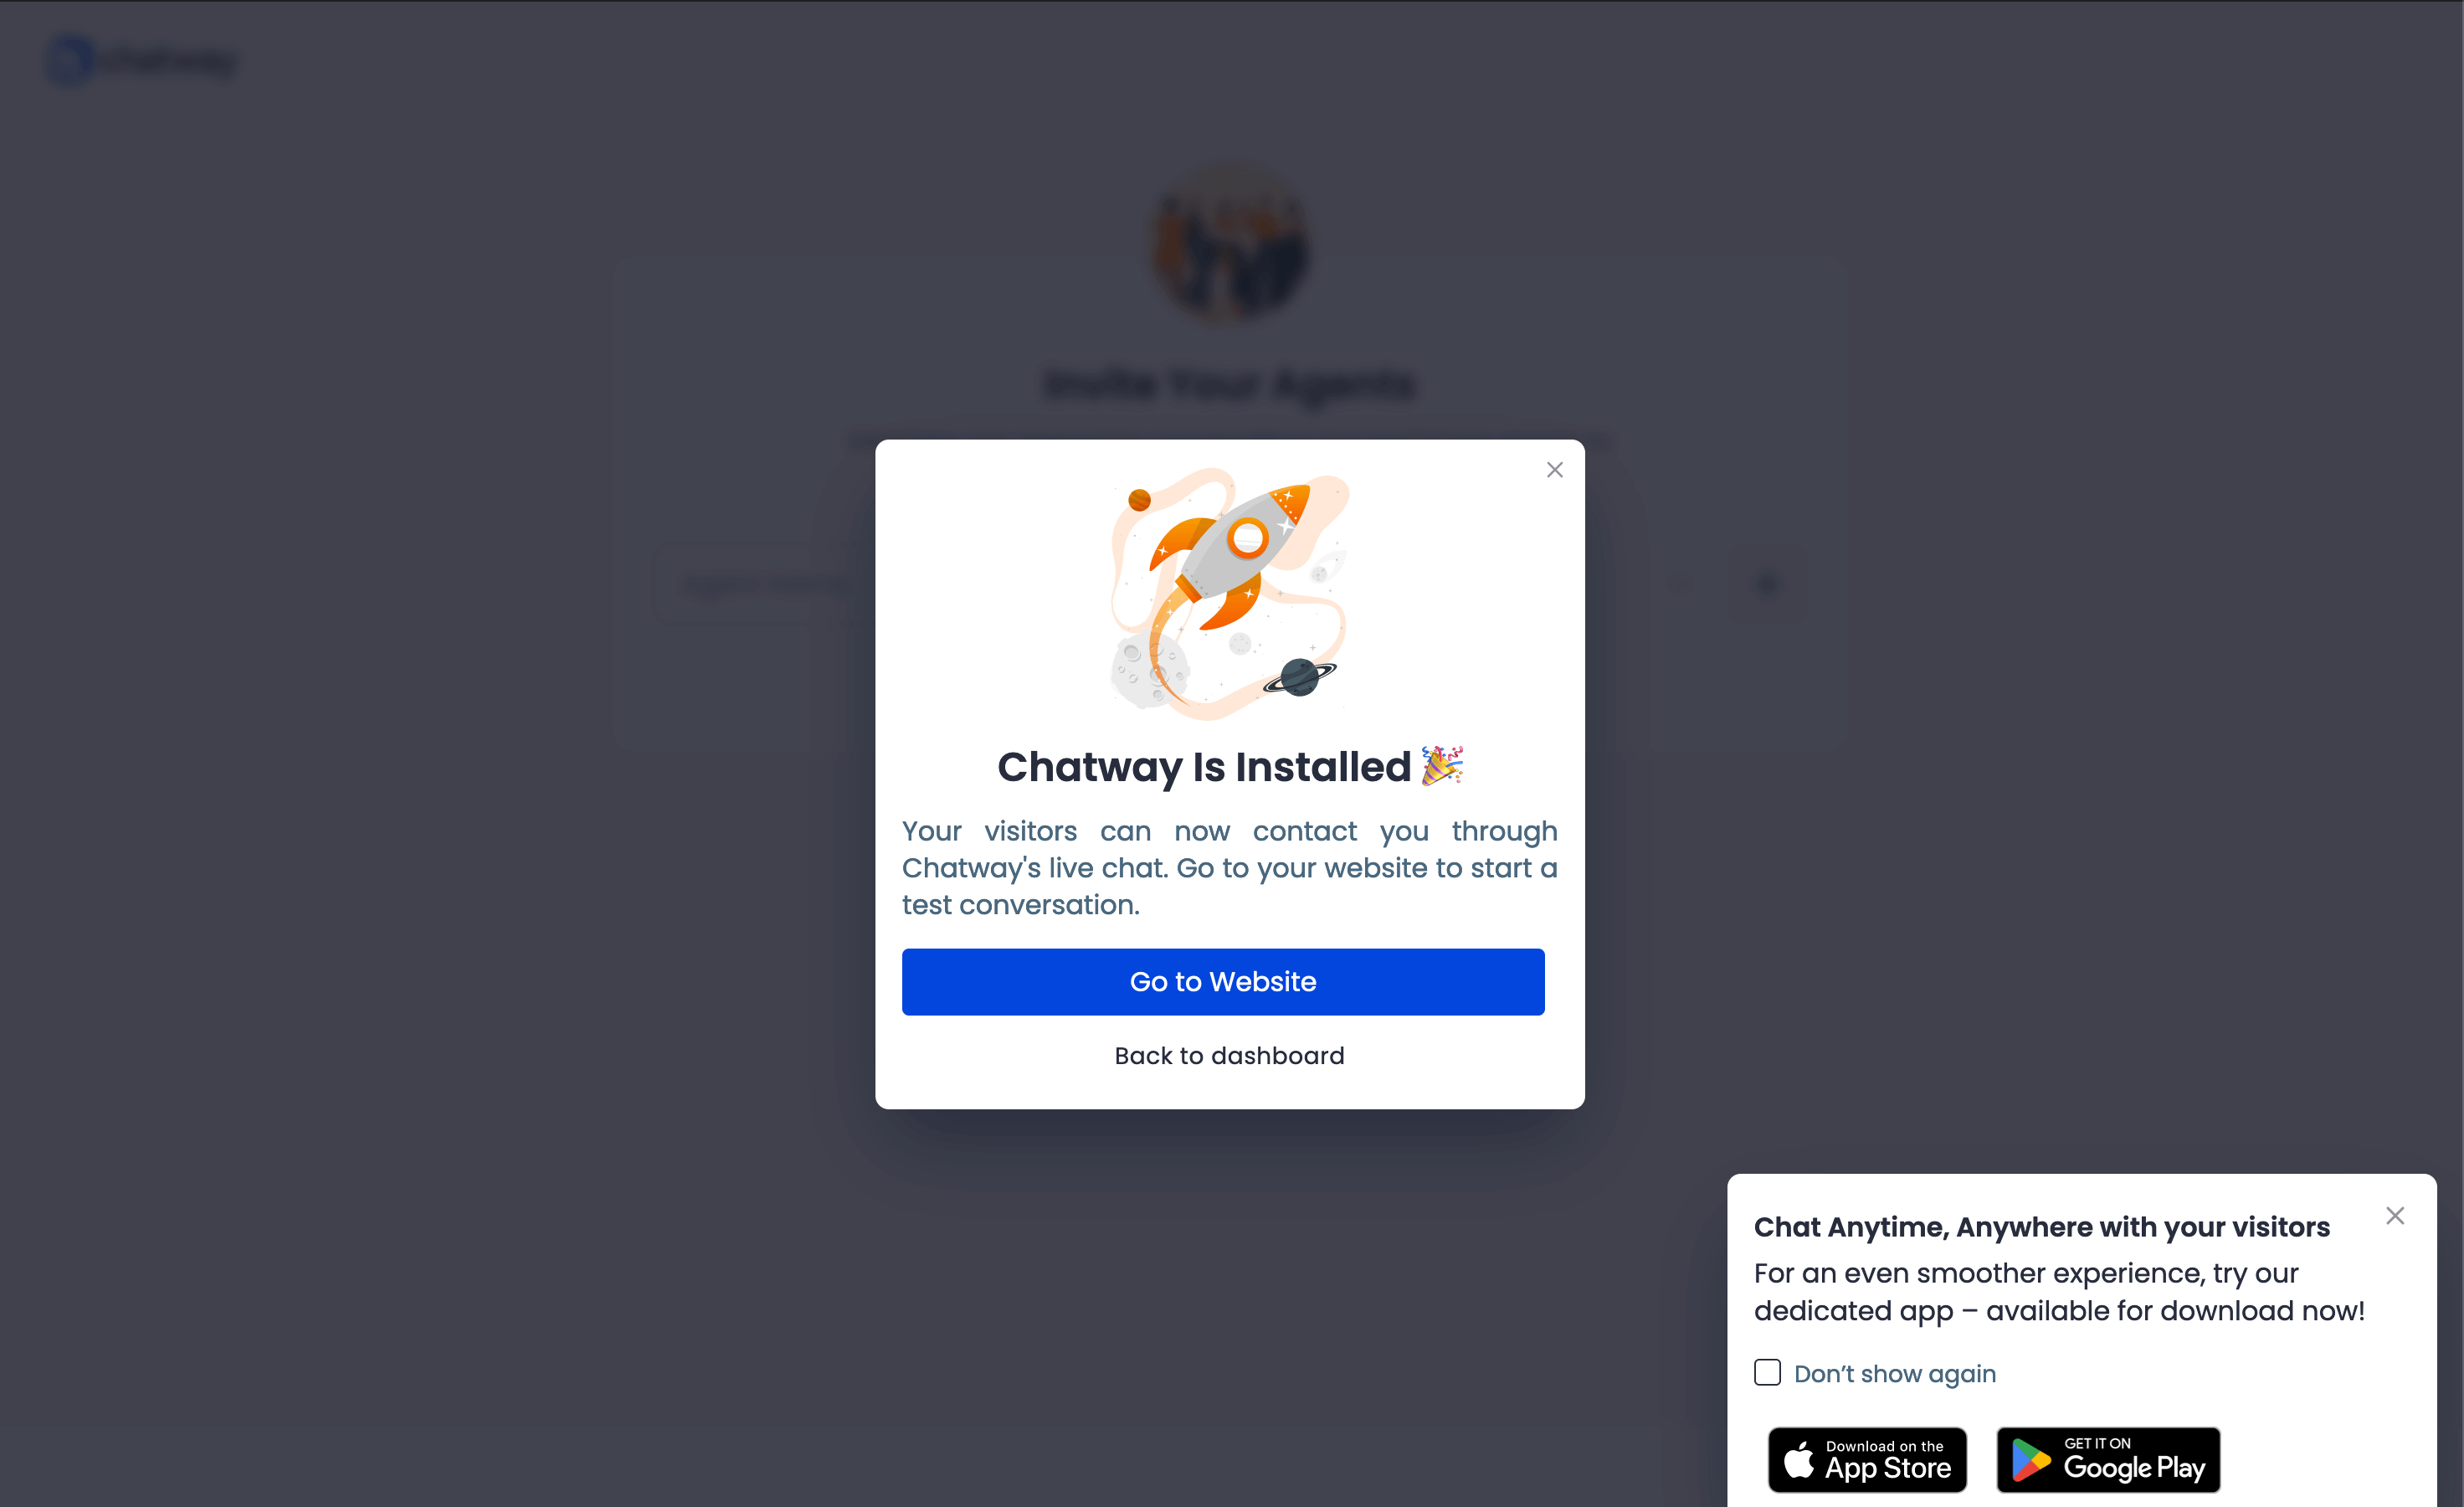
Step 6: After completing the onboarding steps, the widget will appear immediately on your site. You can check your website right away to see how it looks.

You can also check here how to customize your Chatway widget and learn more about how to make the most out of it.

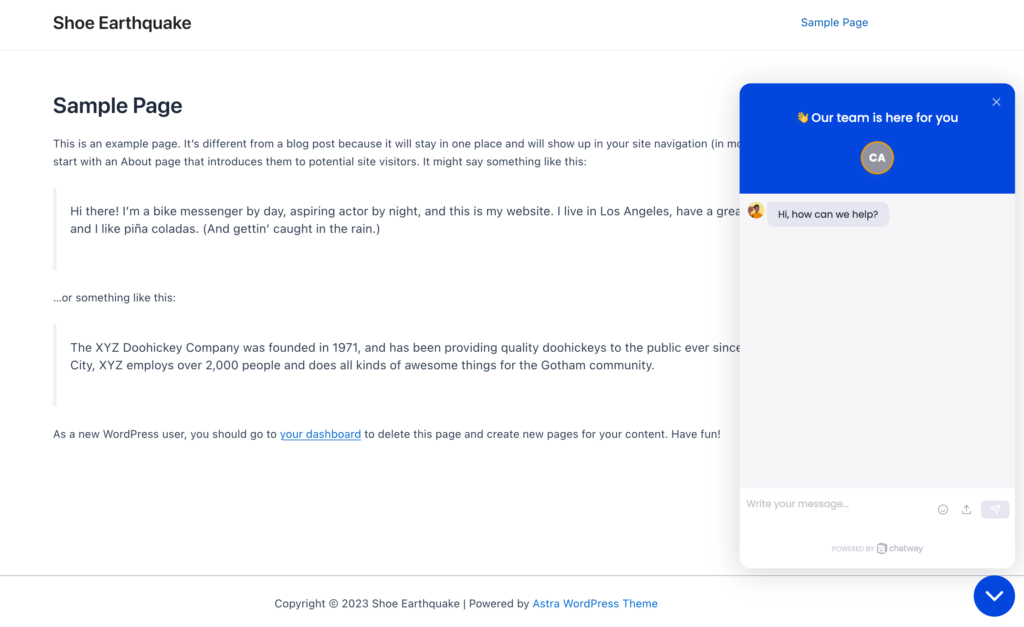
Step 7: Depending on your customizations, this is how Chatway may look like on your website:

And you’re done!

Showing Chatway on Under Construction or Maintenance page

If you want to show the Chatway widget during under construction or maintenance mode, you need to manually paste the Chatway installation code into the plugin’s index.php file.

Please copy the installation code from your Chatway installation page.

For Maintenance plugin, you can find the index.php file under load directory.

Insert your Chatway installation code before the </head> tag.

Don’t forget to click Update File to save the changes.

It should look like this when Maintenance mode is On.

For Under Construction plugin, the index.php file is located under the directory of the theme you are using.

Insert your Chatway installation code before the </head> tag.

Don’t forget to click Update File to save the changes.

It should look like this when Under Construction mode is On.

Plans That Fit Every Stage of Your Growth

Start free and upgrade as your needs expand. Whether you’re working solo, leading a team, or scaling big, we’ve got a plan built for you.

Sign Up for Free

No Credit Card Required

Chatway essential features
Capterra Capterra 2 Grid Leader Grid Leader High performancer 1 High performancer 2 High performancer 3 High performancer 4 High performancer 5 GetApp Customer Support
chatway footer logo

Improve live chat communication and unlock customer satisfaction with Chatway.

app store logo play store logo
5 stars reviews
1,000+ Five-Star Reviews on iOS & android app stores

Company

  • Contact Us
  • About Us
  • Privacy Policy
  • GDPR
  • Terms of Service

Resources

  • AI Support Agent
  • Integrations
  • Chatway API
  • Help Center
  • Comparison Page

© 2026 Chatway. All rights reserved.

GDPR icon
Accessibility Adjustments

Powered byOneTap

How long do you want to hide the toolbar?
Hide Toolbar Duration
Select your accessibility profile
Vision Impaired Mode
Enhances website's visuals
Seizure Safe Profile
Clear flashes & reduces color
ADHD Friendly Mode
Focused browsing, distraction-free
Blindness Mode
Reduces distractions, improves focus
Epilepsy Safe Mode
Dims colors and stops blinking
Content Modules
Font Size

Default

Line Height

Default

Color Modules
Orientation Modules