In this article, we’ll guide you on how you can set automated messages for working and non-working hours in Chatway.
If you’re new to Chatway, you can install the app on your website to let your customers chat with you even when you’re not online. You can also reply to your customers from your phone by installing our mobile app.
The Chatway live messaging app helps you connect with your customers and answer their queries in real time. Providing quick resolution that helps improve the customer experience converts your site visitors into returning customers, which can lead to an increase in sales.
Setting up automated messages helps you acknowledge your customers queries by letting them know you received their message or by providing them alternative contact options when you’re offline.
Let’s start!
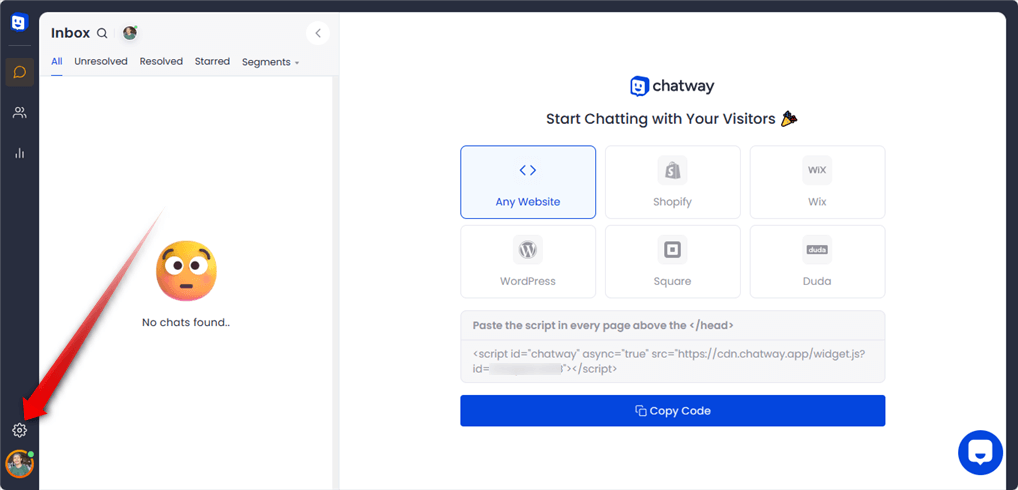
Step 1: Open your Chatway dashboard and click on the settings icon on top of your Chatway profile picture in the bottom left corner.
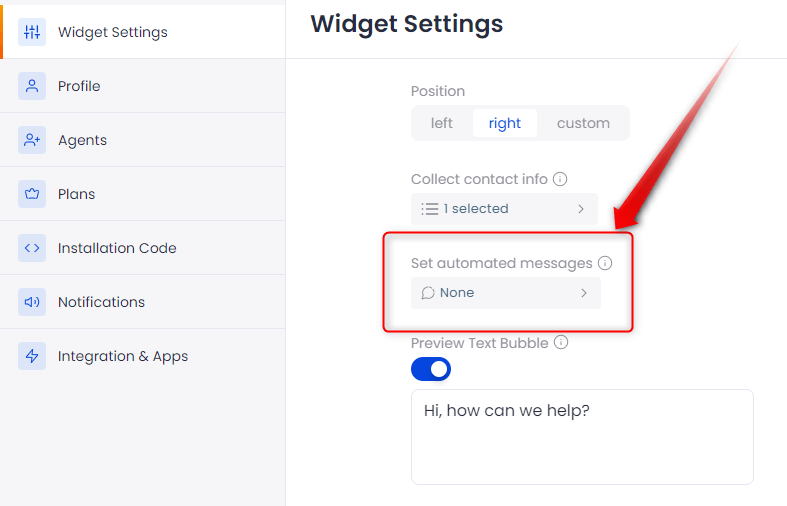
Step 2: You will see the Widget Settings, scroll down and click Set automated messages.
Step 3: A window will open where you can set your working hours.
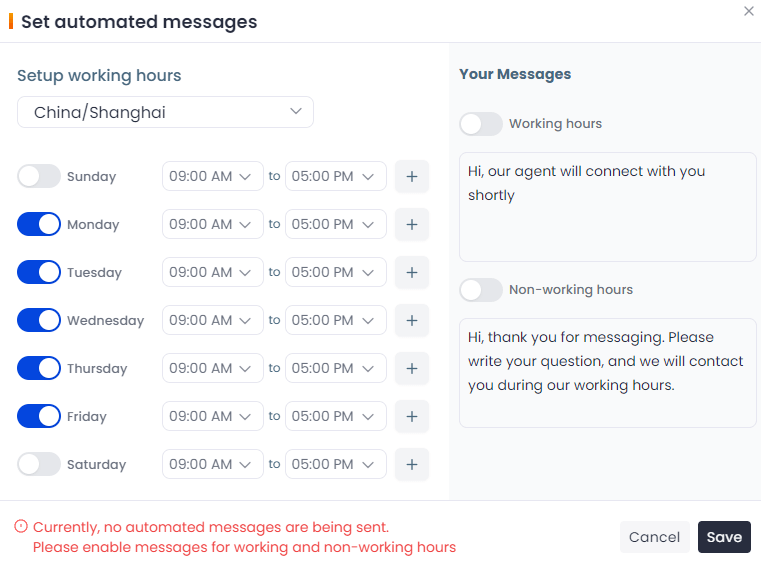
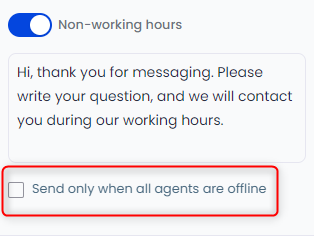
Step 4: On the right side is where you can see the toogle switch to enable the automated messages for working hours and/or for non-working hours. You can also edit the message.
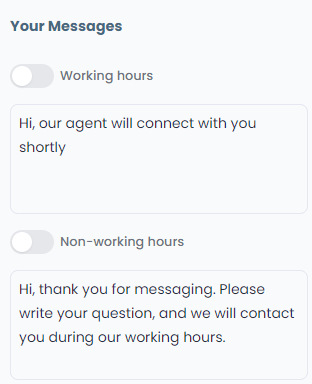
Step 5: You can see an additional option on automated messages for non-working hours to send the message only when all agents are offline.
Step 6: Don’t forget to hit Save and Publish from the widget settings for the changes to take effect.

Below screenshots are how it looks after publishing your settings depending on your customizations.


