

Please follow the steps below on how to customize your Chatway widget.
You can choose a widget color, default state, widget size, and widget icon and more.
First, open your Chatway dashboard and click on the settings icon on top of your Chatway profile picture in the bottom left corner.
Header
You will see the Widget Settings with the first option to edit the Header text.

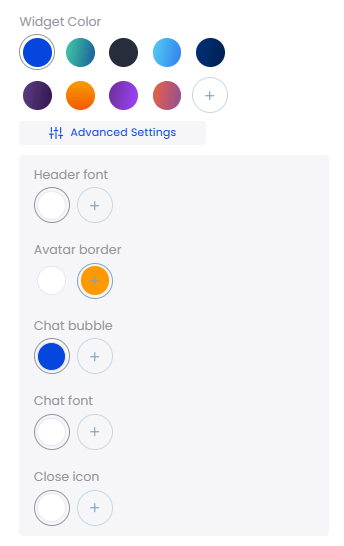
Widget Color
The next option is the Widget Color. You can click on Advanced Settings to change the color for Header font, Avatar border, Chat bubble, Chat font and Close icon.
Position
You also have the option to change the widget position. You can place the widget on the Left or Right side of the website or set a custom position by entering a Bottom and Side spacing.

Collect contact info
You can choose what visitors’ contact info you want to collect by following our separate guide here: How to collect name, email, and phone in Chatway

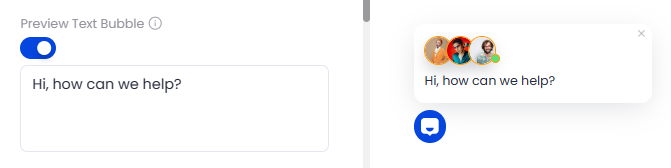
Preview Text Bubble
By default, the Preview Text Bubble is enabled. It is a call-to-action button that displays when the live chat pop-up is in a closed state. You can disable it or edit the text. There’s a live preview on the right for you to check how it looks.
Widget Size
There is also an option to change the widget size. You can choose from Small to XXL or set a custom size.
Below the Widget Size is the option to change the widget icon. You can choose from the 4 pre-built icons or upload your own icon.

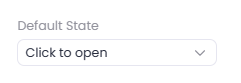
Default State
On Default State, you can choose from two options with the first one being Click to open that means the visitor needs to click the widget first to see the live chat popup. Opened by default means the live chat popup will open on page load and site visitors can type directly their concerns.
Edit & translate widget text
Lastly, you can edit and translate your Chatway widget texts. Please check our separate guide here: How to edit and translate Chatway widget texts to other languages
Don’t forget to hit the “Publish” button when all is set to save the changes.

Below is how it looks like after publishing your settings depending on your customizations.
