

In this guide, we’ll show you how to filter the Chatway conversations with the use of segments.
In creating segments, we will use the conversation tags and/or custom data. This makes it easy for you to filter the conversations according to the conditions you set.
As tags and custom data are required, please check our easy visual guide on how to add tags here and how to add custom data here.
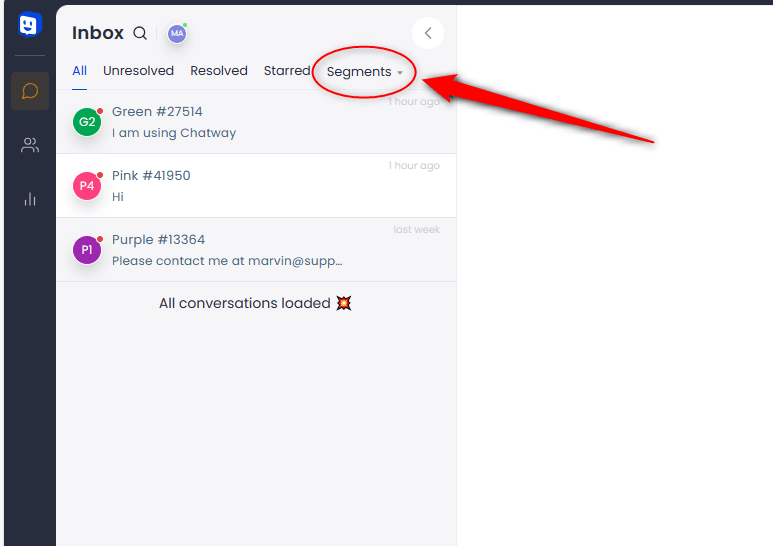
Step 1: On your Chatway dashboard, click Segments from your conversations tab.
Step 2: Click Create Segment.

Step 3: Enter your desired segment name then set a condition by choosing from Custom data or Tags.

Step 4: When choosing Custom data, you need to select a Field from the dropdown.

Step 5: Then choose a condition (Equals, Does not equal, Contains, Does not contain, Starts with, Ends with, Contains any value, Does not exist for a contact).

Step 6: After choosing a condition, enter a value and click Save New Segment.

Example #1
The example segment below will show only the customer conversations who only purchased bread.

Example #2
If you want a segment to show only customer conversations who did not purchase bread, you just need to change the condition to Does not contain.

Example #3
If you want a segment to show customer conversations who purchase bread in combination with other products, you change the condition to Contains.

Example #4
If you want a segment to show all the customer conversations who purchased any products, you just select the condition Contains any value.

Example #5
If you want a segment to show only customer conversations who did not purchase any products, you just select the condition Does not exist for a contact.

You can also use tags in creating segments.

After clicking tags, choose a condition (Equals or Does not equal).

Click Value to select from the tags you created and hit Save New Segment.

Example #5
The example segment below will show all the customer conversations with an email tag.

You can also combine it with custom data by clicking Add condition.

Example #6
The example segment below will show all the customer conversations who did not purchase any products with an email tag.

That’s it! You may now view your filtered conversations with the use of segments. You can see what it will look like in the image below.
