


Chatway’s IP anonymization setting helps protect visitor privacy by masking part of each new visitor’s IP address before it is stored.
In this guide, we’ll explain how account owners can enable IP anonymization and what changes after it is turned on.
How to enable IP anonymization
Step 1: In your Chatway dashboard, go to “Privacy Settings”.

Step 2: Turn on the “IP anonymization” toggle.
Step 3: Review the confirmation message, then click “Yes, enable IP anonymization”.
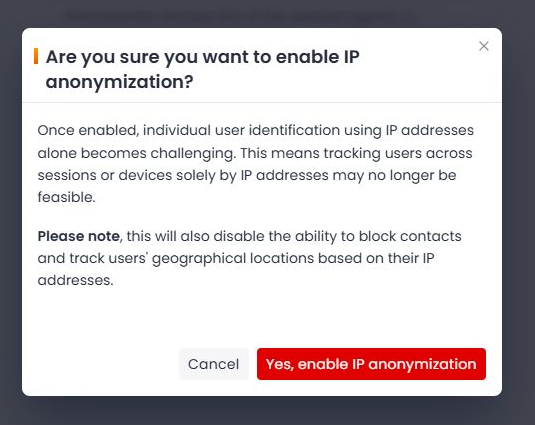
If you click “Cancel” or close the confirmation message, IP anonymization will remain disabled.
Step 4: Click “Save Changes”. A success message will confirm that the setting has been saved.
What happens after you enable IP anonymization
- New visitor IP addresses are masked before Chatway stores them.
- For IPv4 addresses, the final part of the address is hidden. For example, an address may appear as
111.111.***.***. - For IPv6 addresses, the final 80 bits are masked.
- IP addresses collected before you enabled the setting are not changed or anonymized.
- You will no longer be able to block contacts by IP address.
- Visitor geographical locations based on IP addresses will no longer be available.
Important: IP anonymization applies only to IP addresses collected after the setting is enabled. It does not update IP addresses that Chatway already stored.
How to disable IP anonymization
To start storing full IP addresses again, return to “Privacy Settings”, turn off “IP anonymization”, and click “Save Changes”. Chatway will then store the full IP address for new visitors.
Related guide
To learn about consent checkboxes and controls for retaining or deleting visitor data, see Chatway GDPR consent and data retention settings.
That’s it. Please feel free to reach out to our support team if you have any questions.